My time in the Netherlands and what our goals were
- Using Rammed Earth to design a functioning table for a Hermes store based in Miami
- Gain product design skills, such as the process of using Rammed Earth, but also the usage of materials such as clay and 3D printing
Schedule of Events
12/04/2026
Creating the moulds and Dorodango
13/04/2026
Dismantling the moulds
14/04/2026
Installation
15/04/2026
Refining the moulds
16/04/2026
End placement
The Process - Day 1
Creating the mould

CNC Robotic arm used to cut precise shapes and edges into the thick slab of wood for the moulds. video is displaying the flat side of the top of the table
CNC Robotic Arm
Assembling the top mould
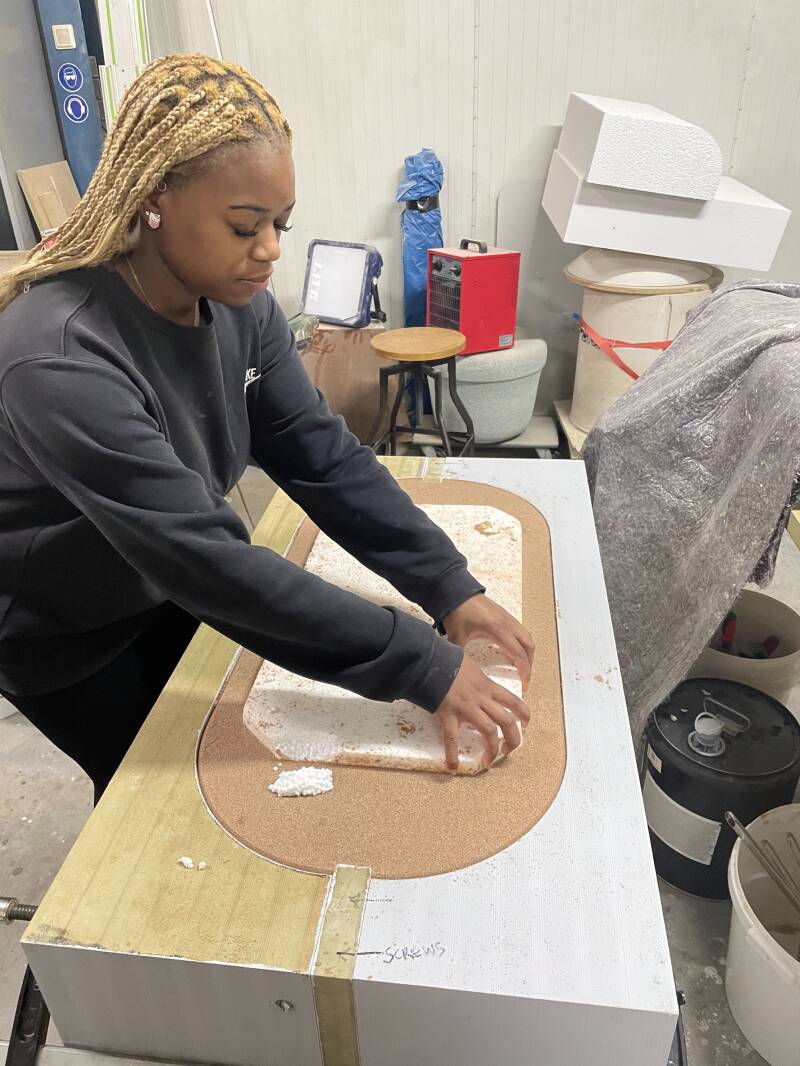
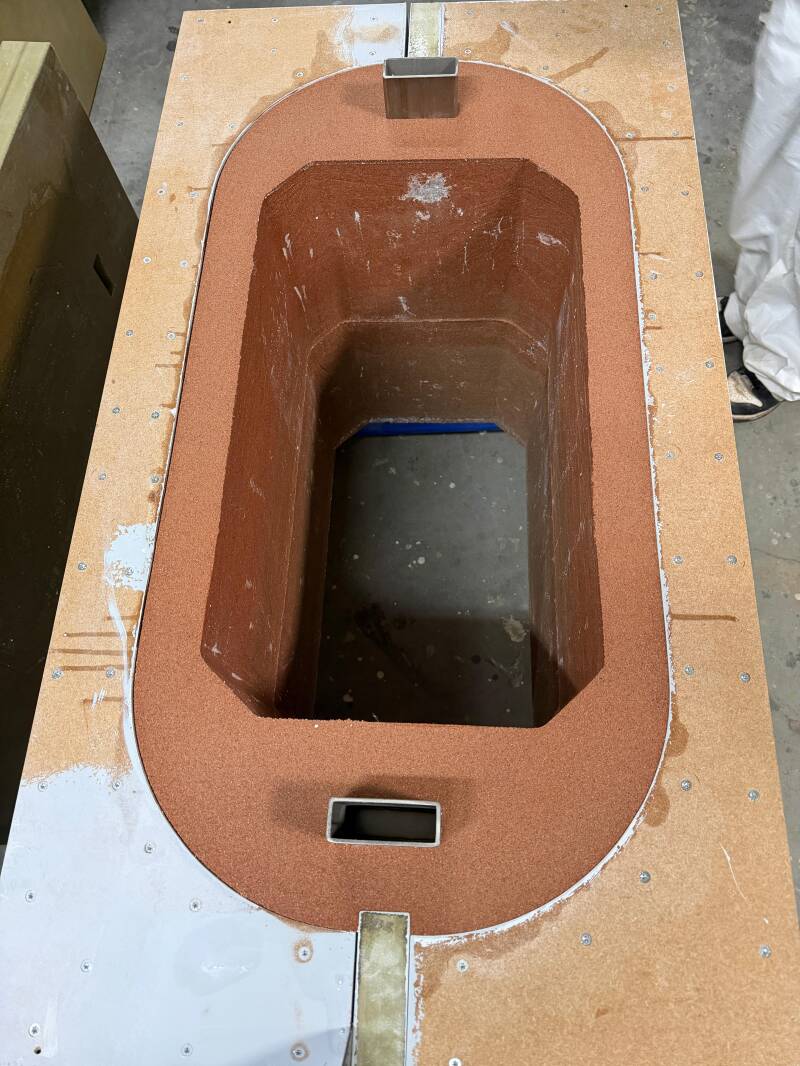
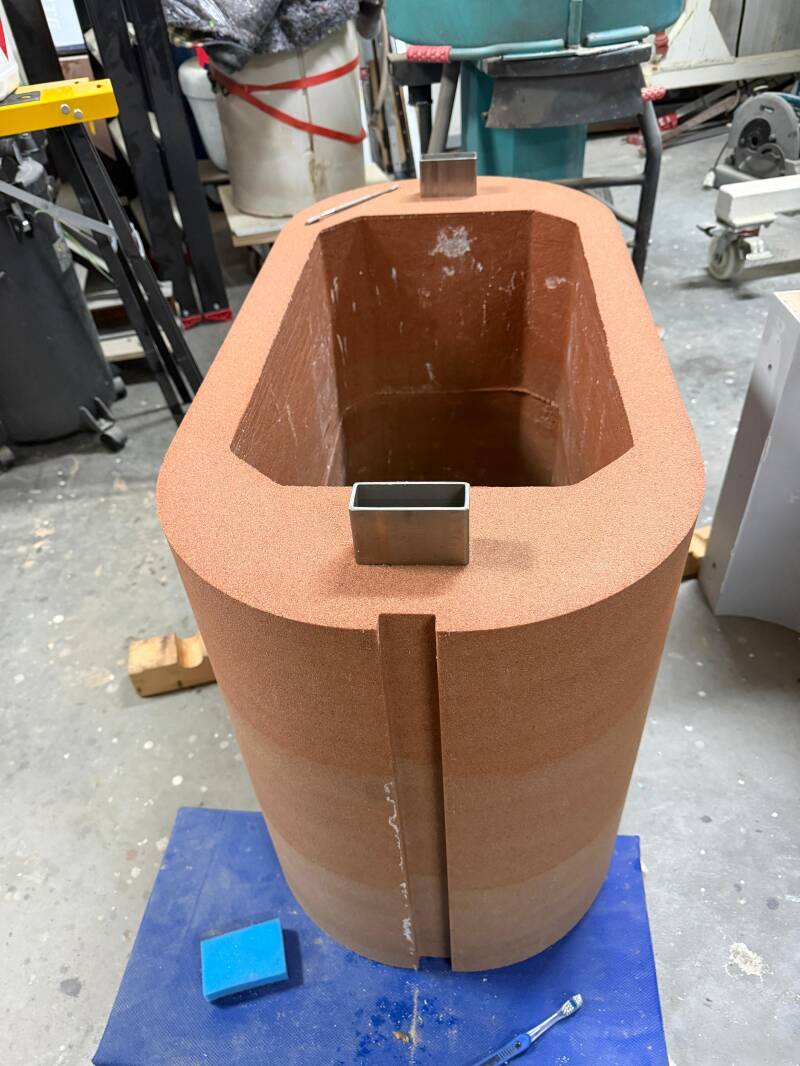
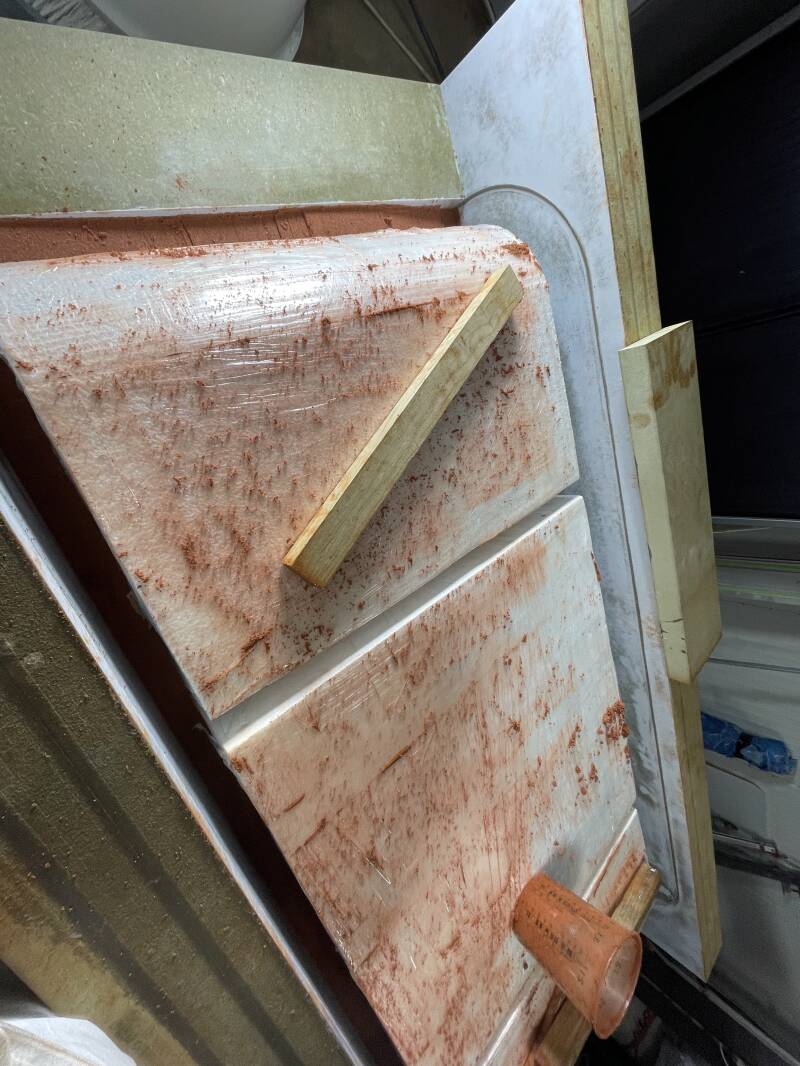
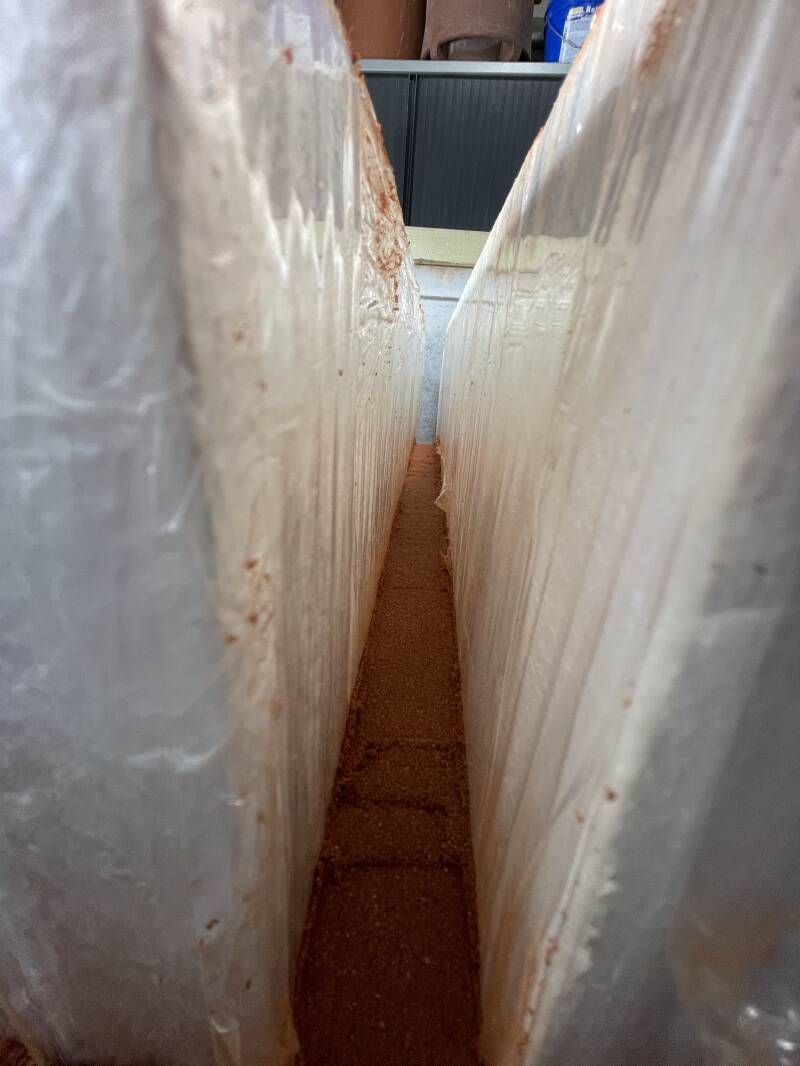
Because the Hermes shops have strict weight limits, we had to find a way to keep the table under 250kg. This was challenging, as rammed earth—made from compressed soil and clay—is naturally very heavy. To solve this, we used solid polystyrene blocks to fill most of the table’s volume. After shaping them, we wrapped the blocks in cling film to prevent them from breaking apart and mixing with the rammed earth during dismantling.
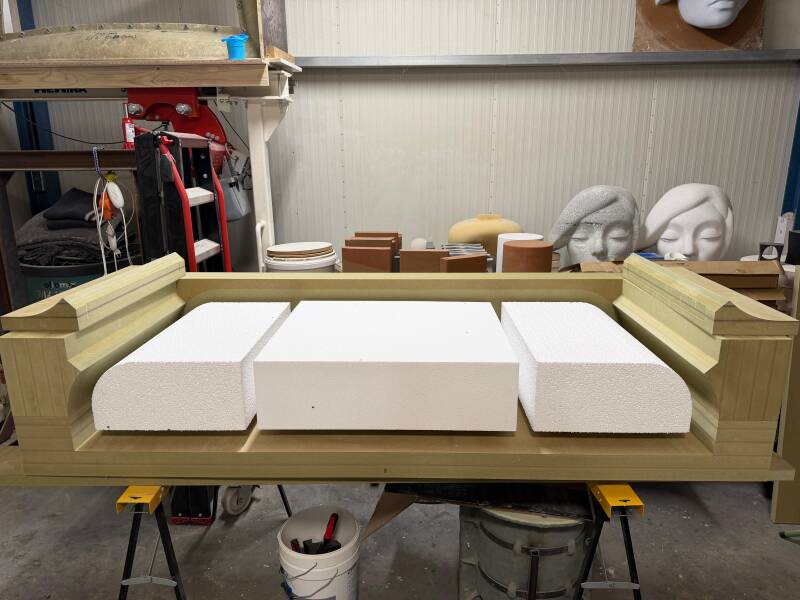
Phase1: Table base mould

This is the mould we created for the base of the table, once again, using the CNC Robotic Arm. Again, due to weight restriction we added polystyrene to fill up the centre of the base without adding significant weight.
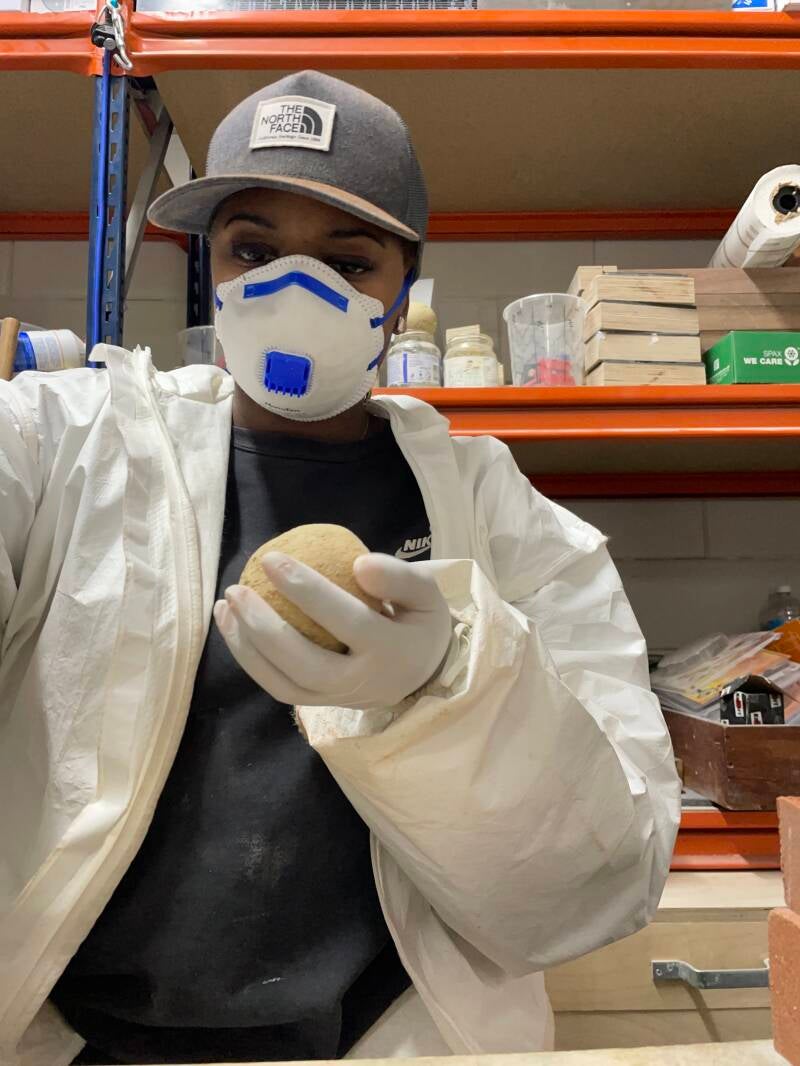
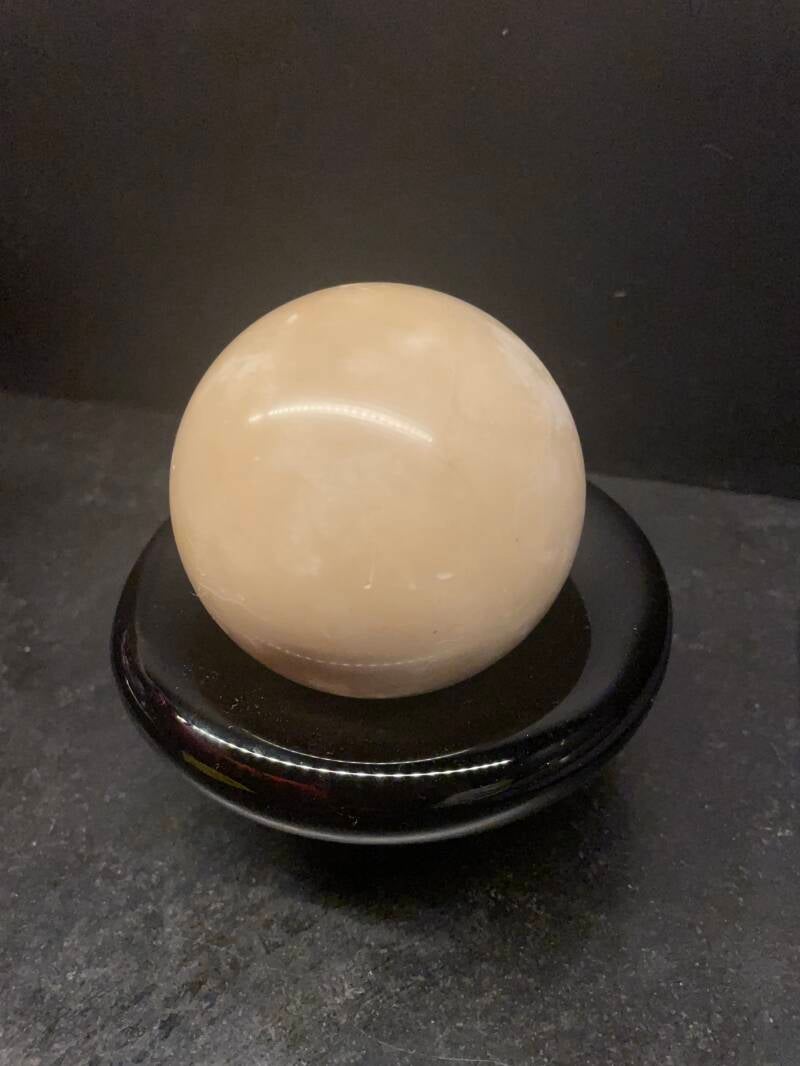
Phase2: Dorodango (whilst waiting for mould to dry)
Dorodango is the process of shaping soil and water into a smooth ball, then refining it with layers of fine earth and polishing it to a subtle shine. This slow, hands-on method builds patience and control. To smooth the clay ball I used a glass jar (a jam jar shape) and it slowly overtime created beautiful sphere shape, that's even all round.
It can inform table design by improving surface finishing, material understanding, and craftsmanship when working with rammed earth.

The process - Day 2
Refining the mould
Removing the polystyrene from the center of the base. We ended up having to use a spade to dig it out and a saw to make cuts for an easier lift out.

Phase 1: Applying primer and sanding the moulds
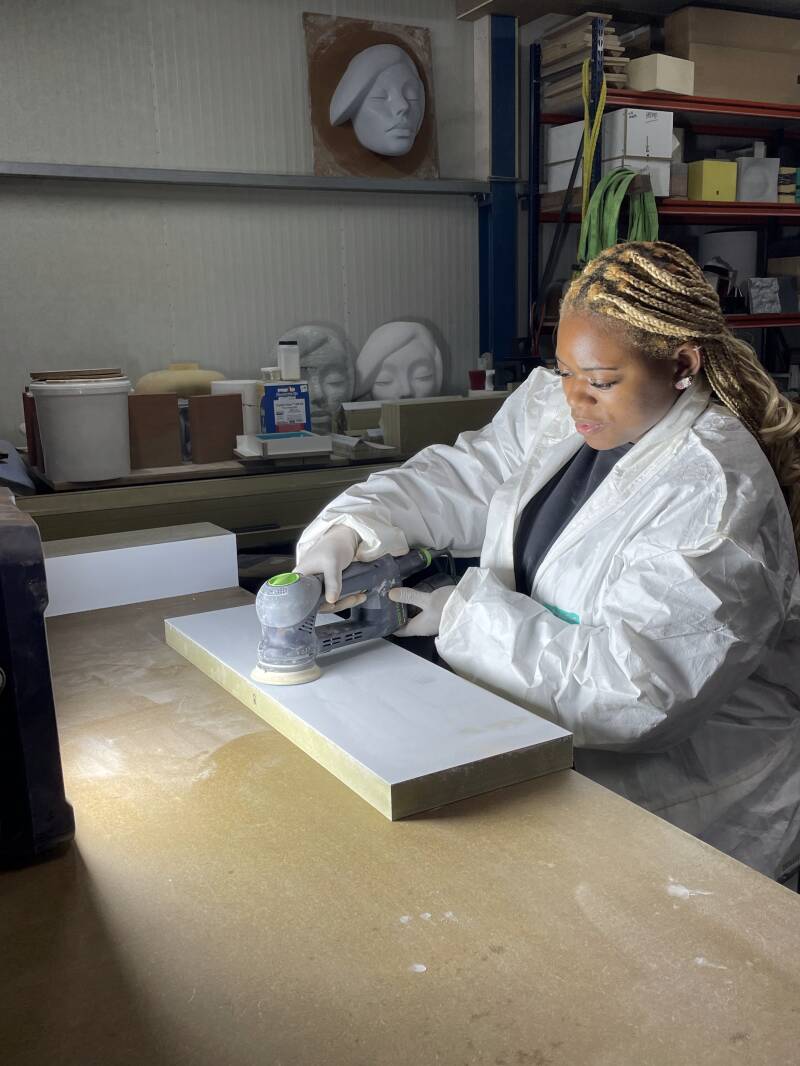
My employer had previously designed the moulds for both the base and top of the table, therefore my roll was assisting in refining. we painted a thin grey primer coat on our wooden mould pieces.
Using a Orbital sander (also known as a finisher sander) I went over all edges and flat faces of the wooden mould. This is so that when the Rammed Earth gets compressed into the mould, a level and smooth shape takes place
Pase 2: Adding a silicone seal
Process Day 3 - application of acrylic silicone
'Mistakes were made'
Phase 1:
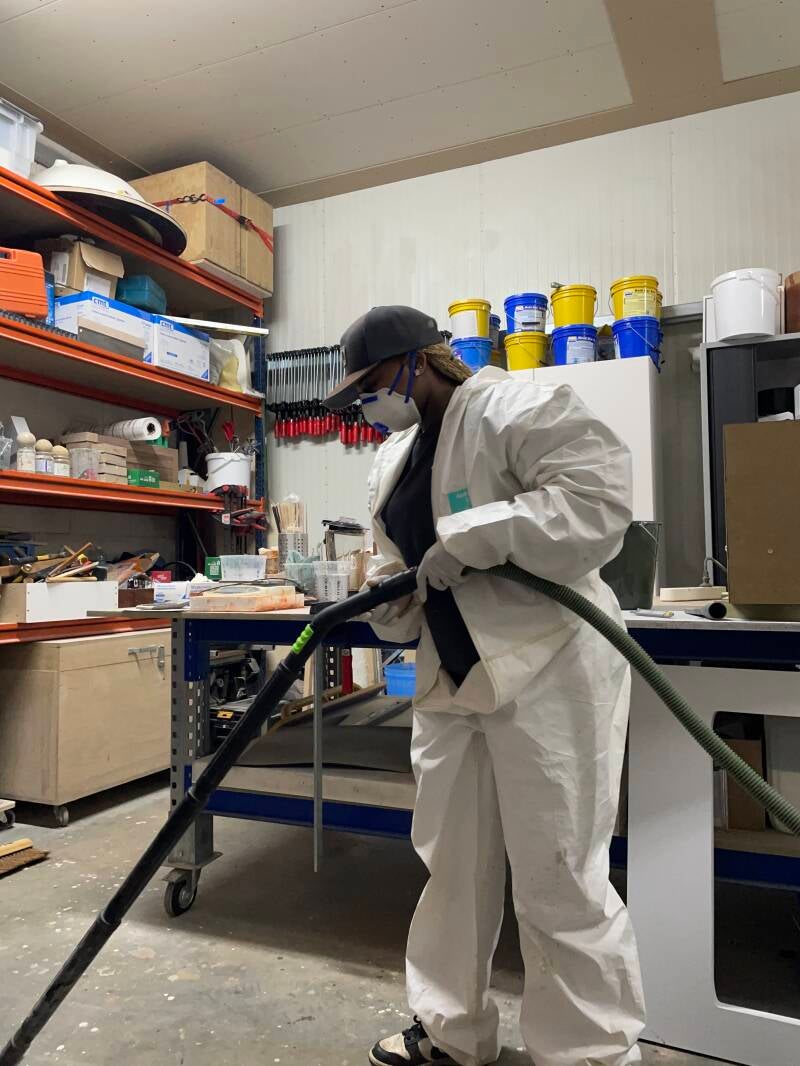
Travelled to dump - Recycled materials from yesterday - travelled back to workshop, as well as cleaning the workshop space.
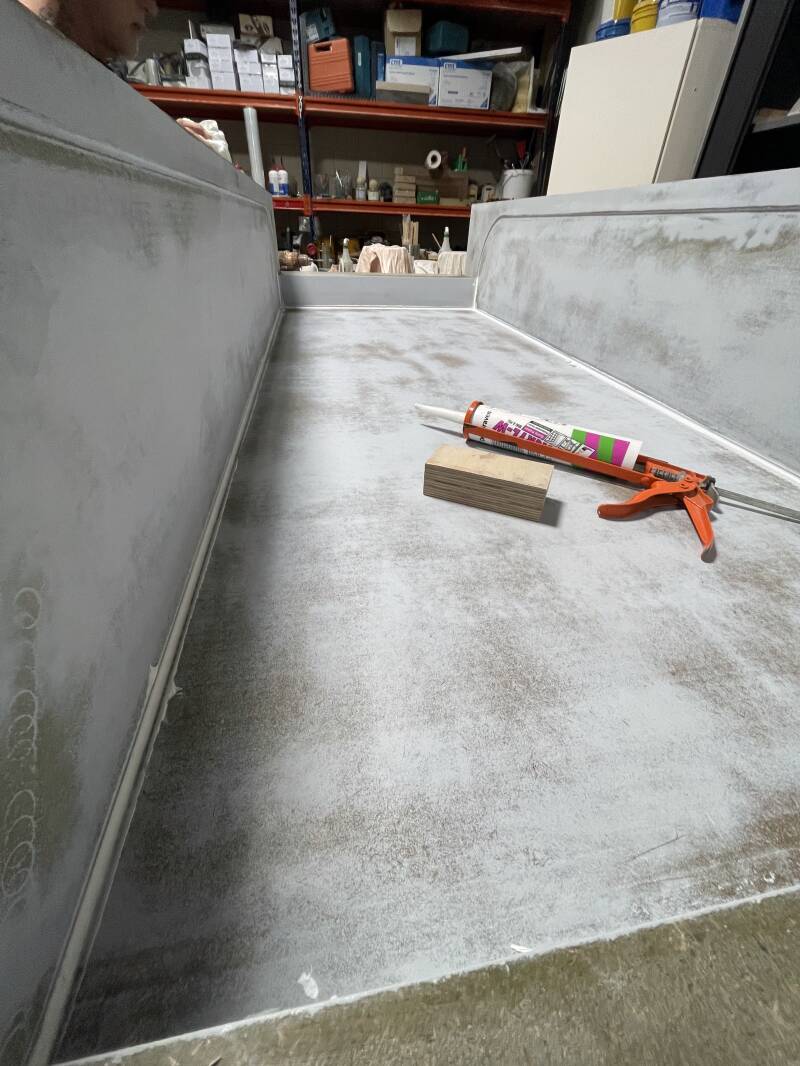
After piecing the mould together in place, we added a silicone to the edges to give the table edges a neat and finished appearance.

-
Flipped over the base mould using fork lift
-
Removing bolts from base mould and de-moulding
- We found bits of acrylic silicone and started making a plan of how to remove it from our base
-
We did attempt using: water, thinner, Isopropyl alcohol, however none was successful
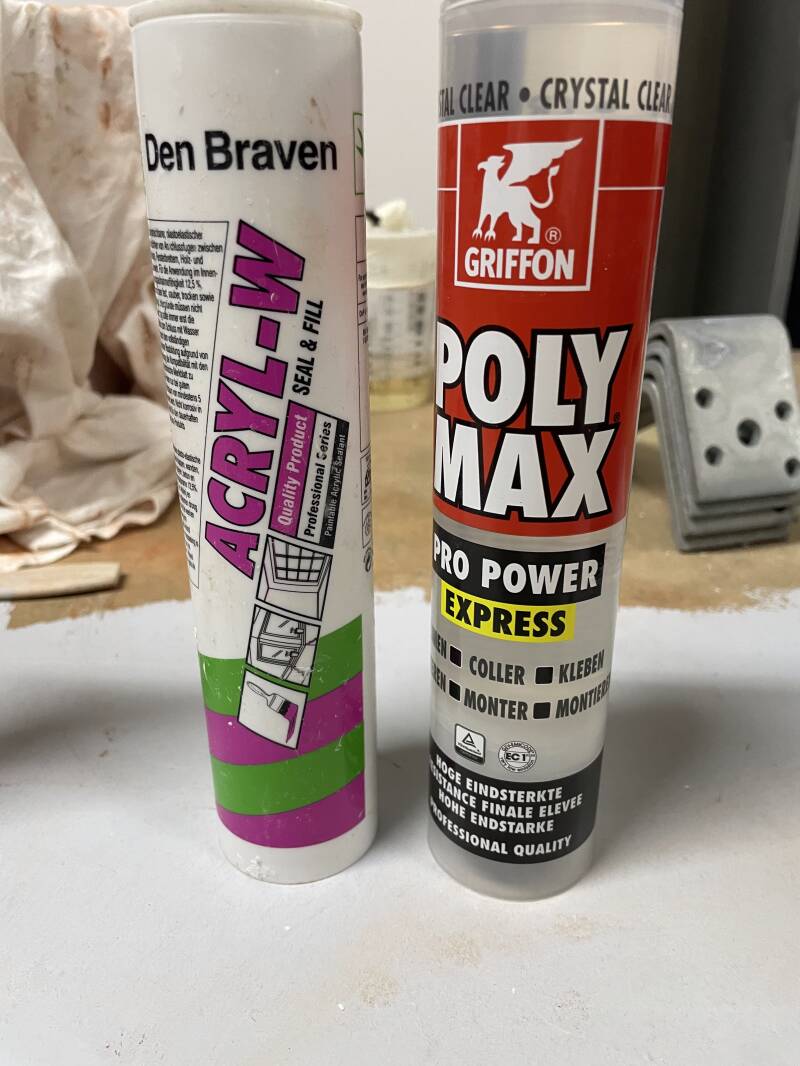
During the mould-making process, the clear silicone performed far more effectively on the rammed earth base due to its flexibility and waterproof properties. It created a cleaner seal and adapted better to the uneven texture of the earth surface without leaving visible marks. In contrast, the acrylic sealant showed through on the mould because it is designed more for interior finishing and crack filling rather than flexible bonding. Its lower elasticity and thicker finish made it more noticeable against the natural texture of the rammed earth.
| Acrylic Silicone | Polymer Adhensive Sealer |
|---|---|
| Beast for filling cracks and joints indoors around walls, ceilings, window frames, plaster, drywall | Best for strong bonding (indoor and outdoor use), bathrooms, kitchens, construction joints |
| Easy to smooth and clean with water | Flexible and waterproof |
| Lower flexibility | Works on many materials - wood, metal, stone and plastic |
| Not ideal for constant moisture reas | Often paintable |
Process Day 4 - Repair
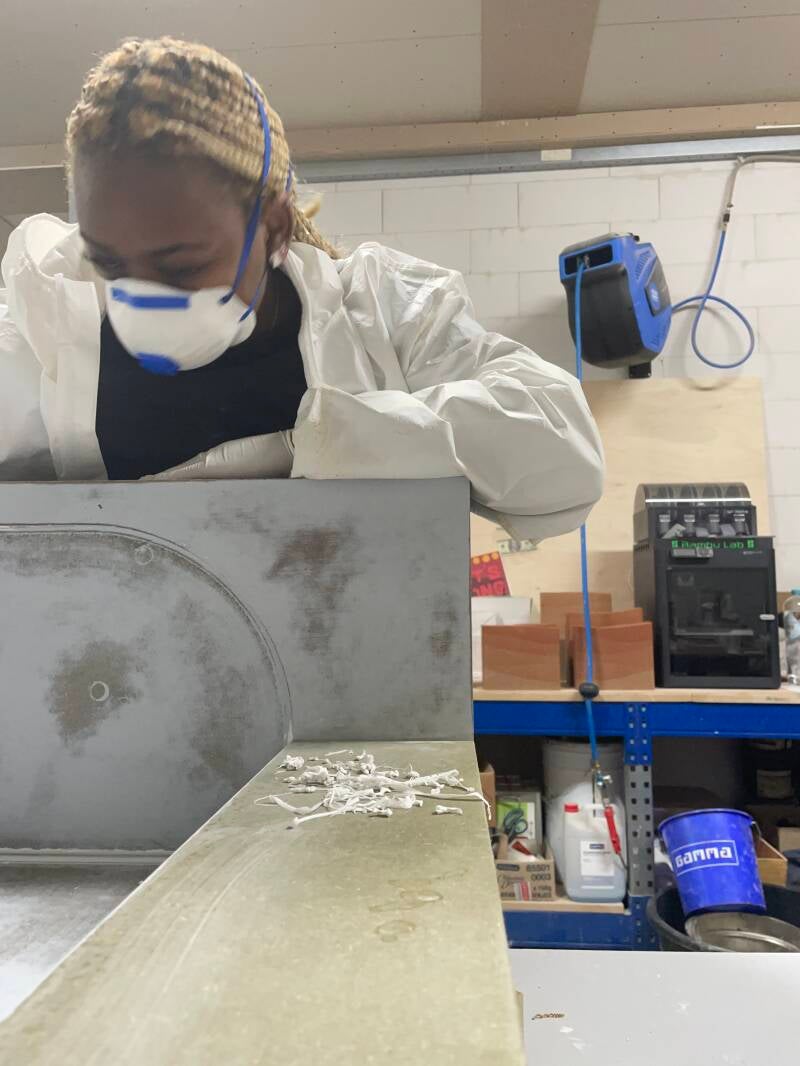
- Removing the acrylic silicone from the top mould
-
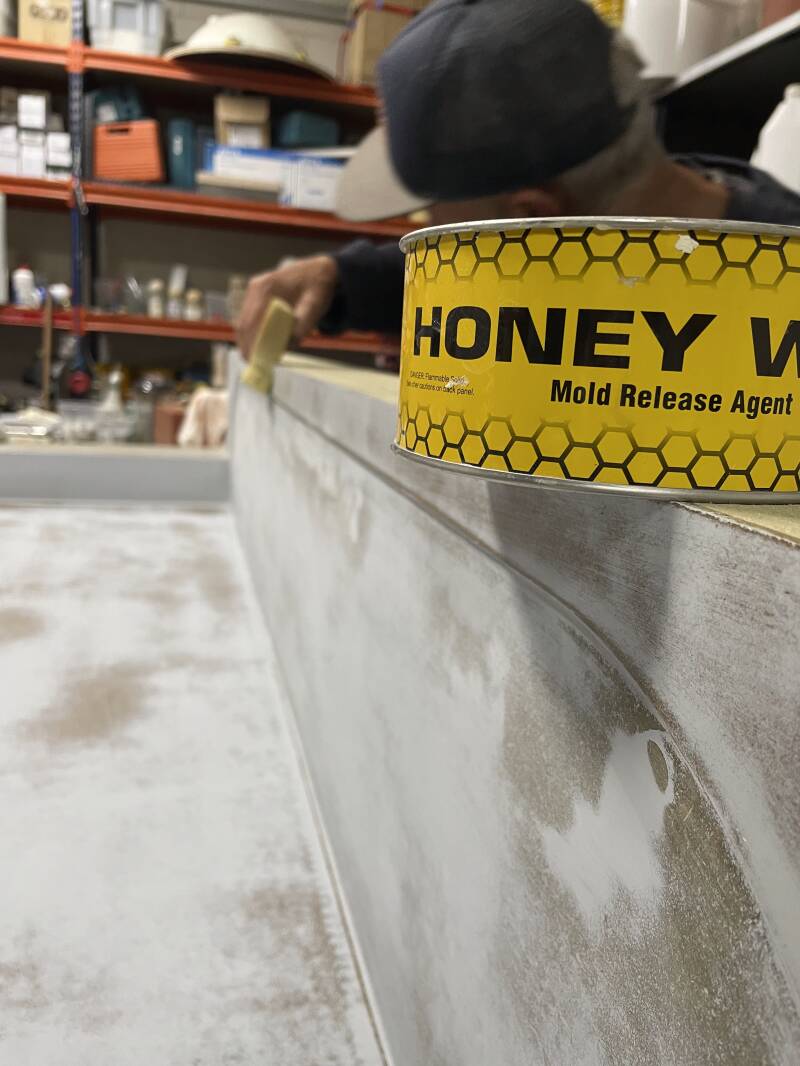
honey wax applied so the silicone doesn’t overspill and stick to the mould, for easy dismantling after use
-
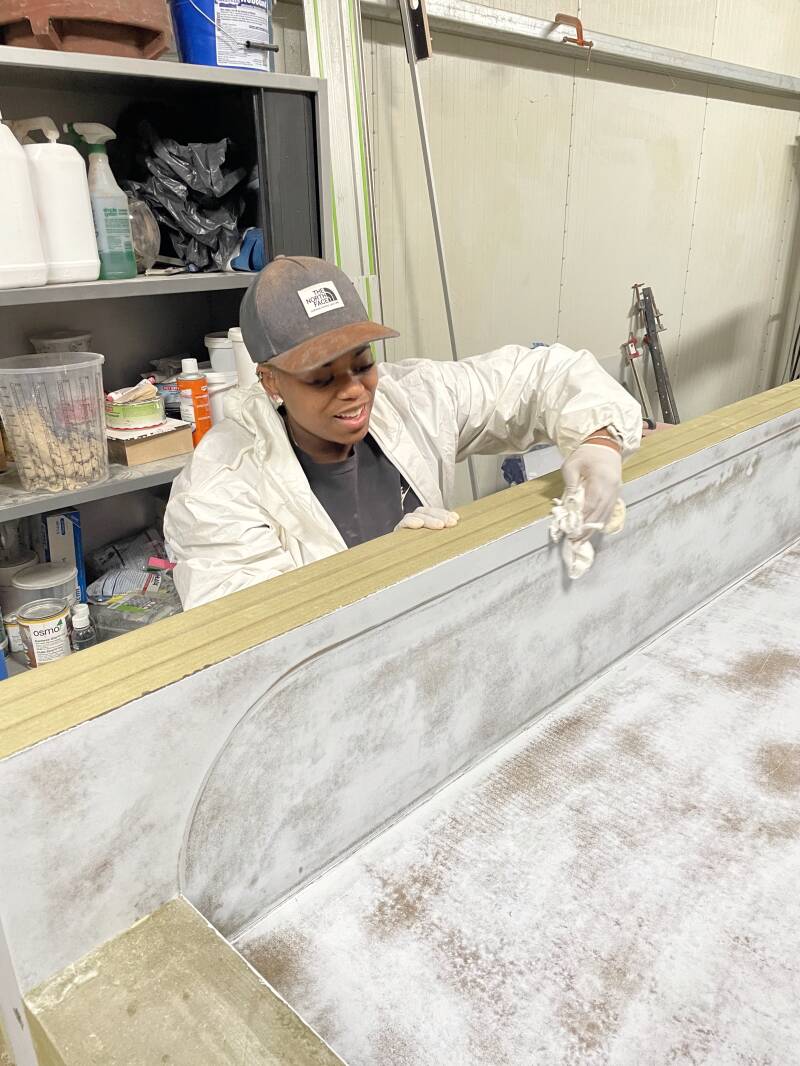
Polishing the wooden mould after the honey wax had been applied
-
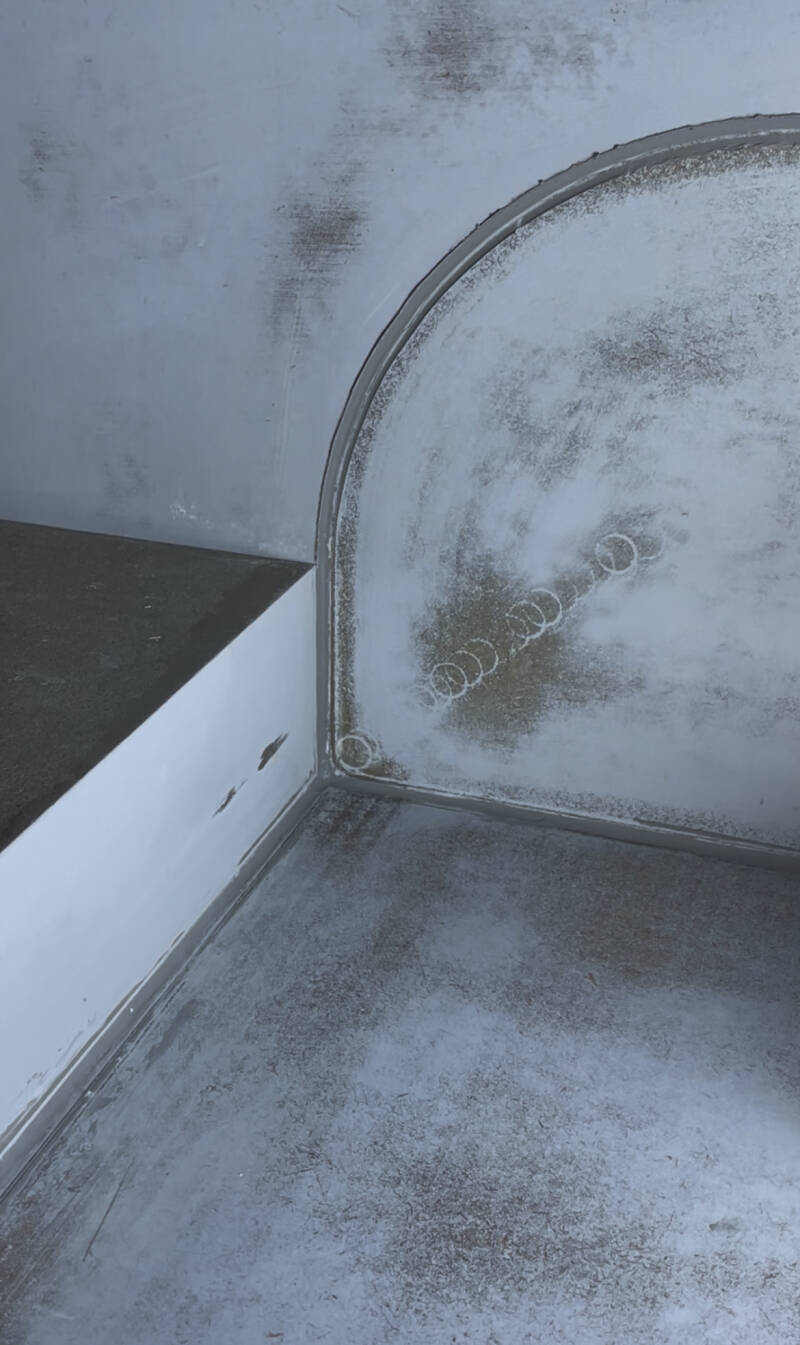
Polymer adhesive applied to the inner edges and corners of top mould
- During this day we also travelled to purchase MultiQuartz sand bags with pigmentation

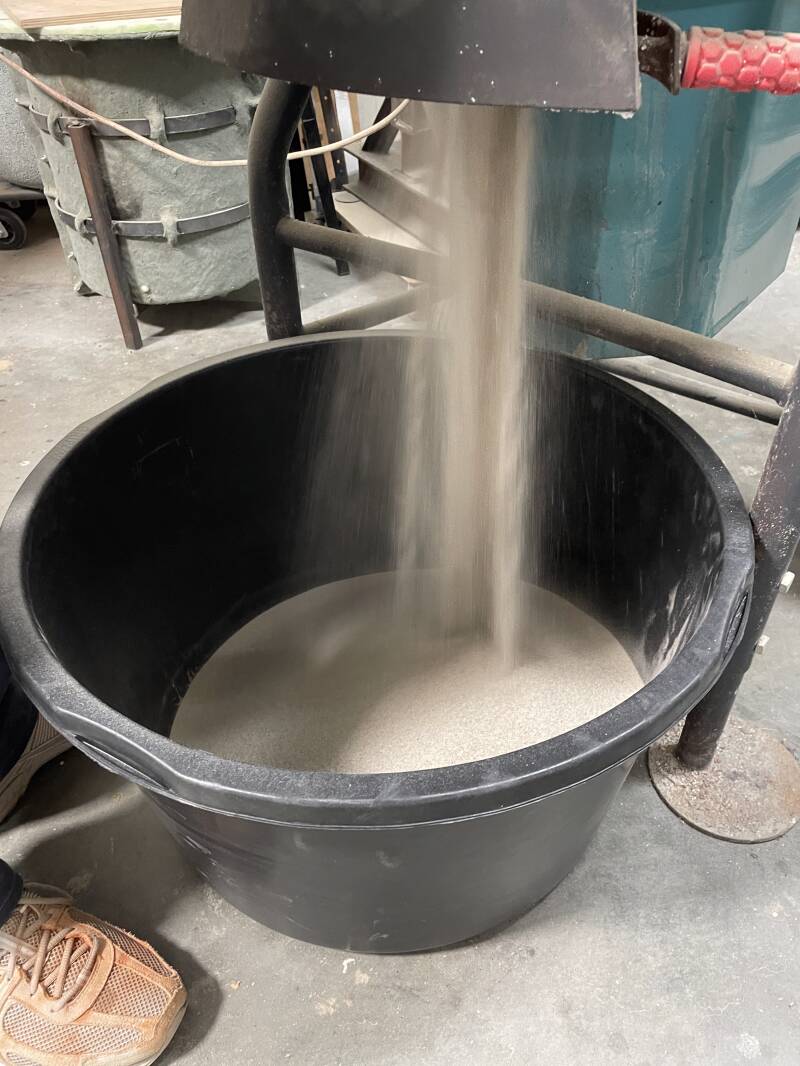
Process Day 5 - Rammed Earth
Compressing the sand into the mould
Phase 1:

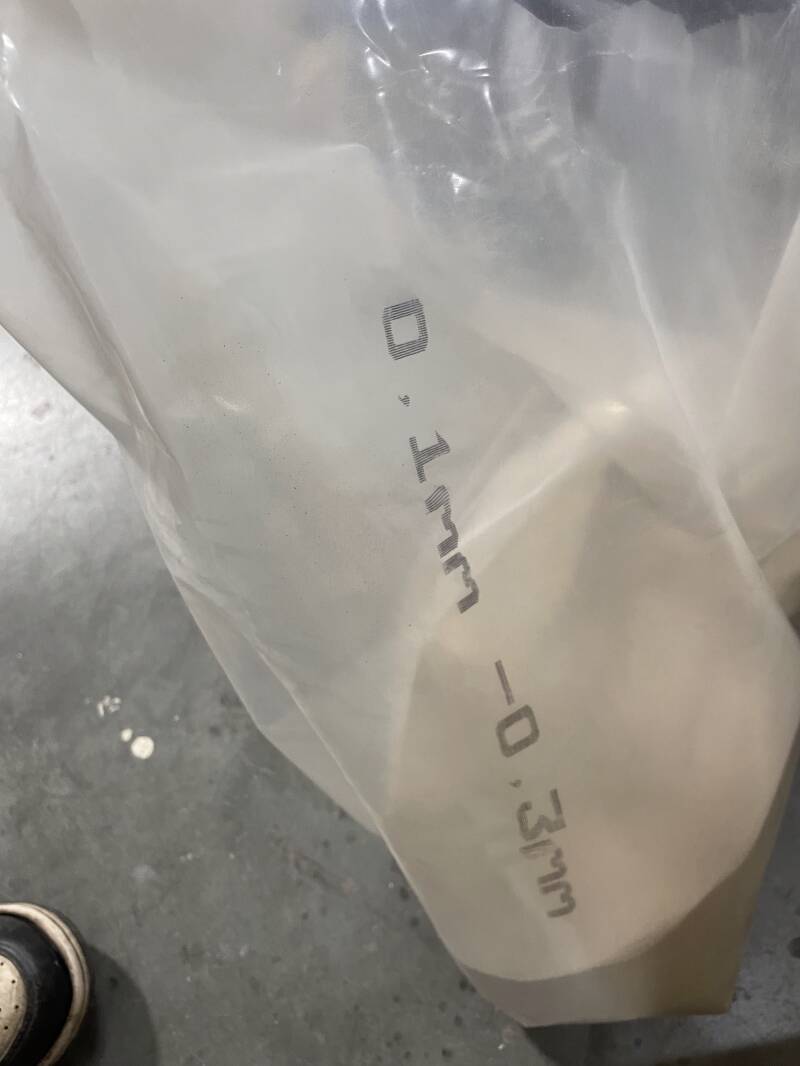
Products used mixture of both sand 0.4mm-0.8mm and 0.1mm-0.3mm
Phase 2:
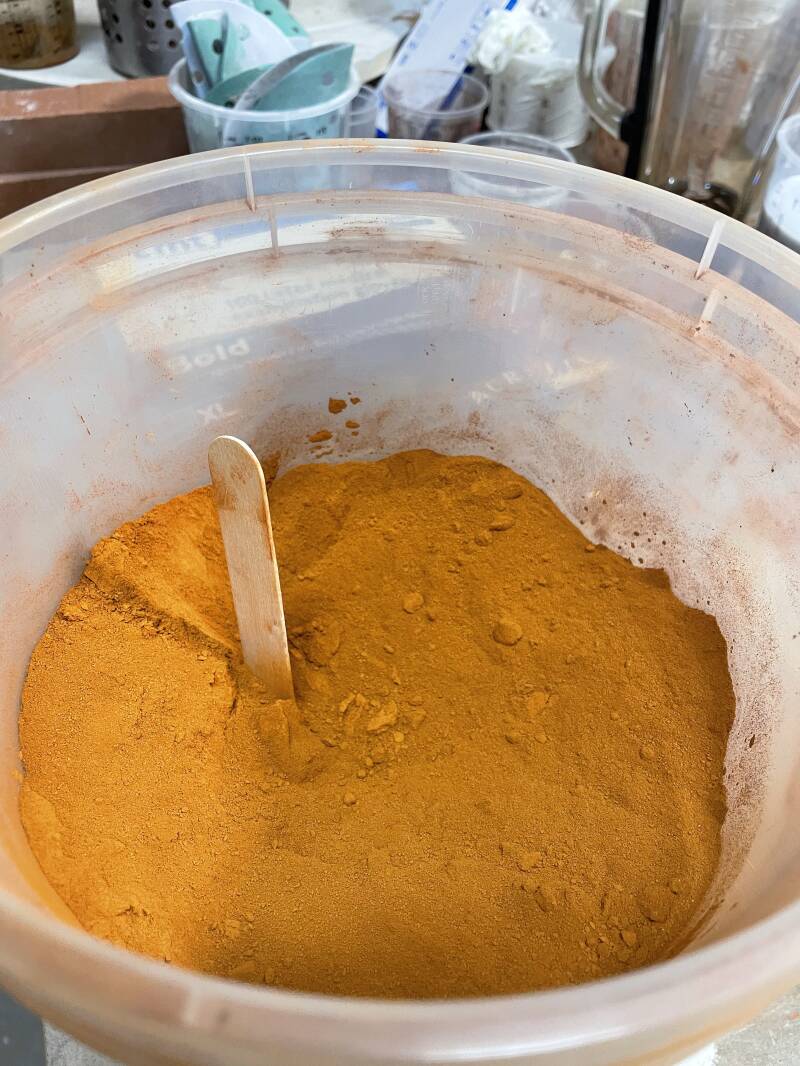
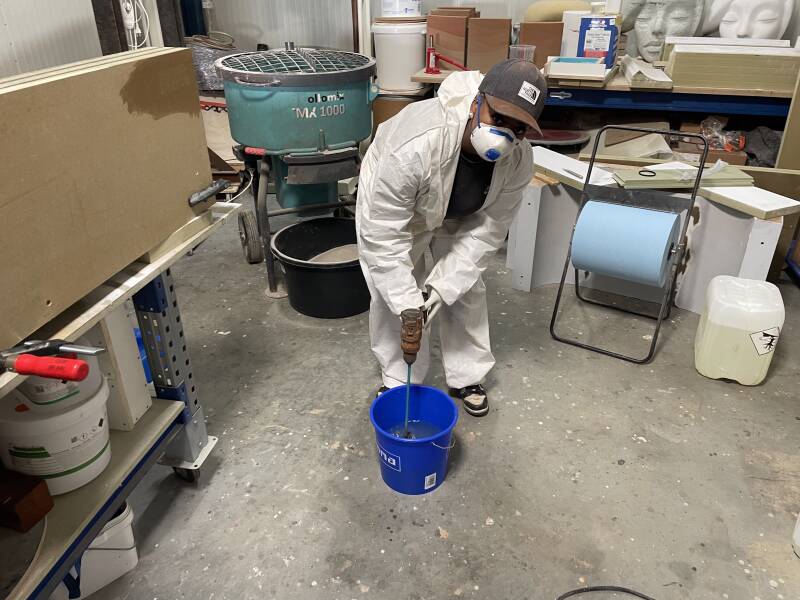
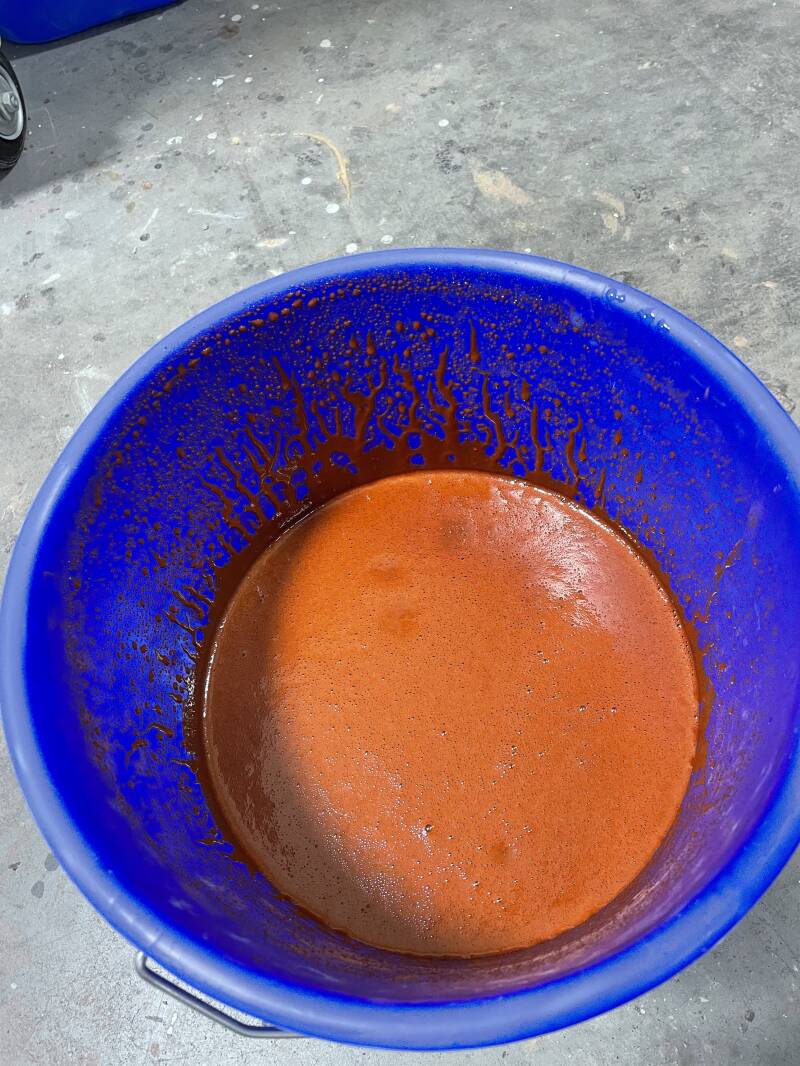
Combining the pigment and premixing
Phase 3:
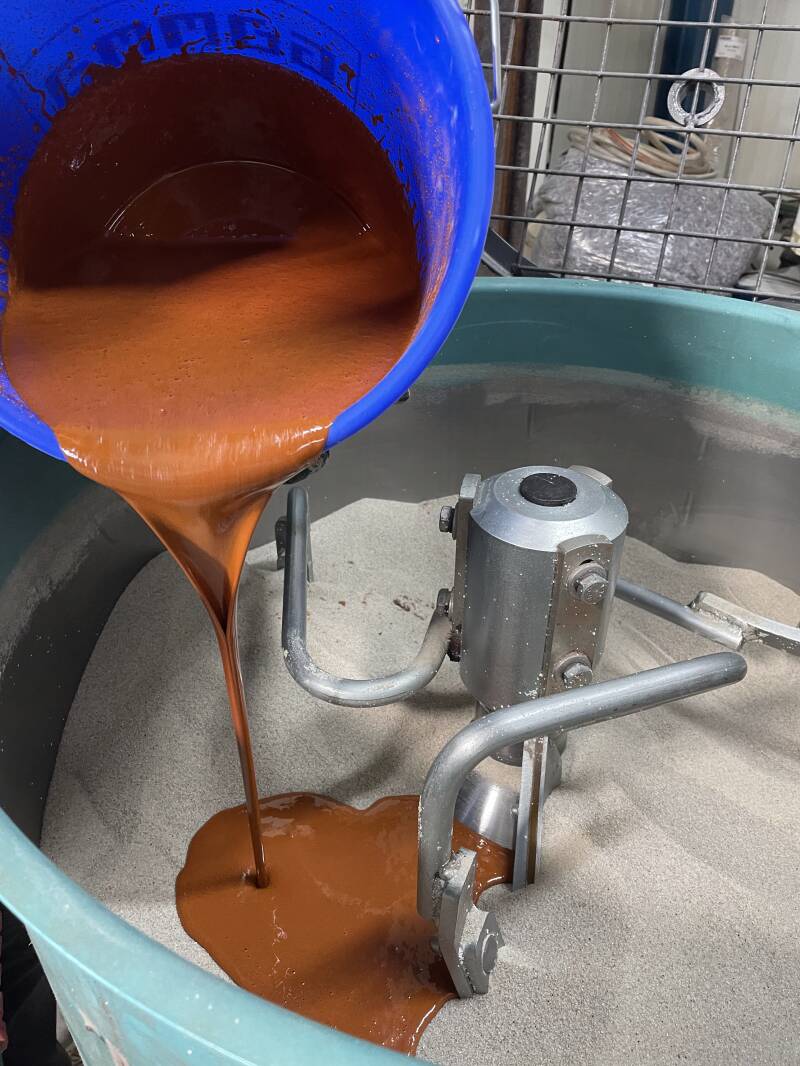
Combining the pigment with the sand in the industrial mixer
Phase 4:
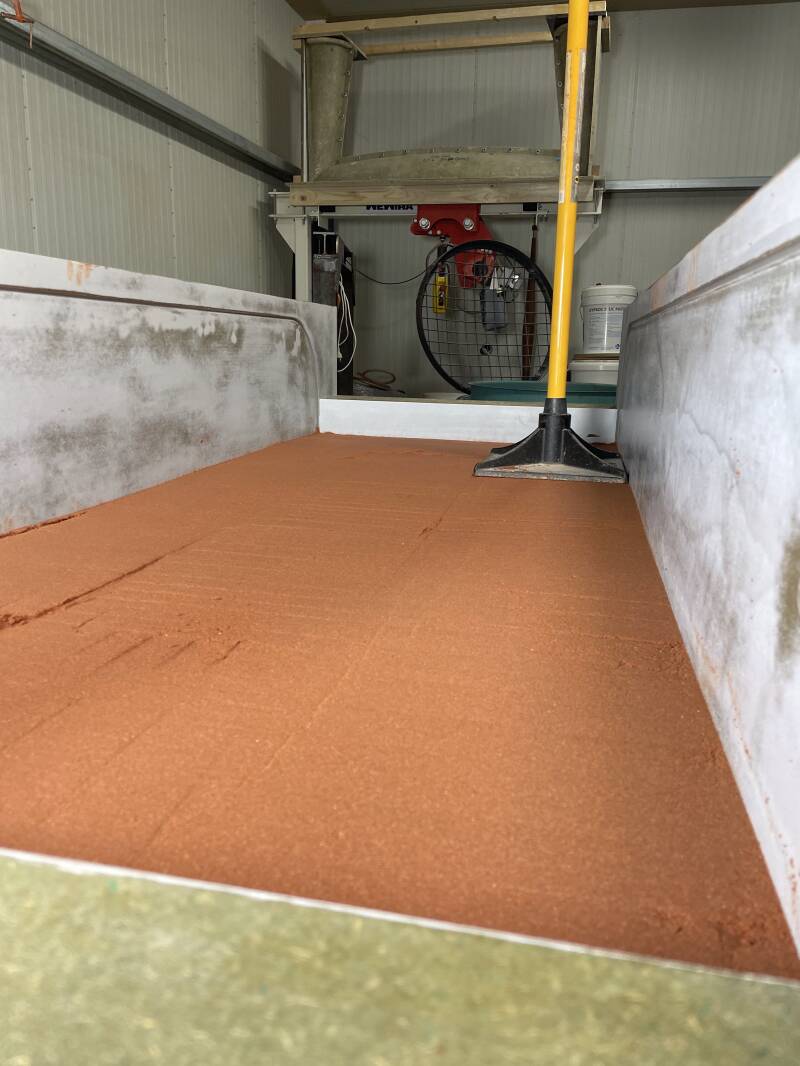
Compressing and ramming the sand into the mould, plus adding the polystyrene blocks onto the rammed earth and building up along the walls/edges
Final product
My placement week ended before the final product was completed, however 2 days later Woodcast Designs were able to piece the base and top mould together
